
Profile & Branding
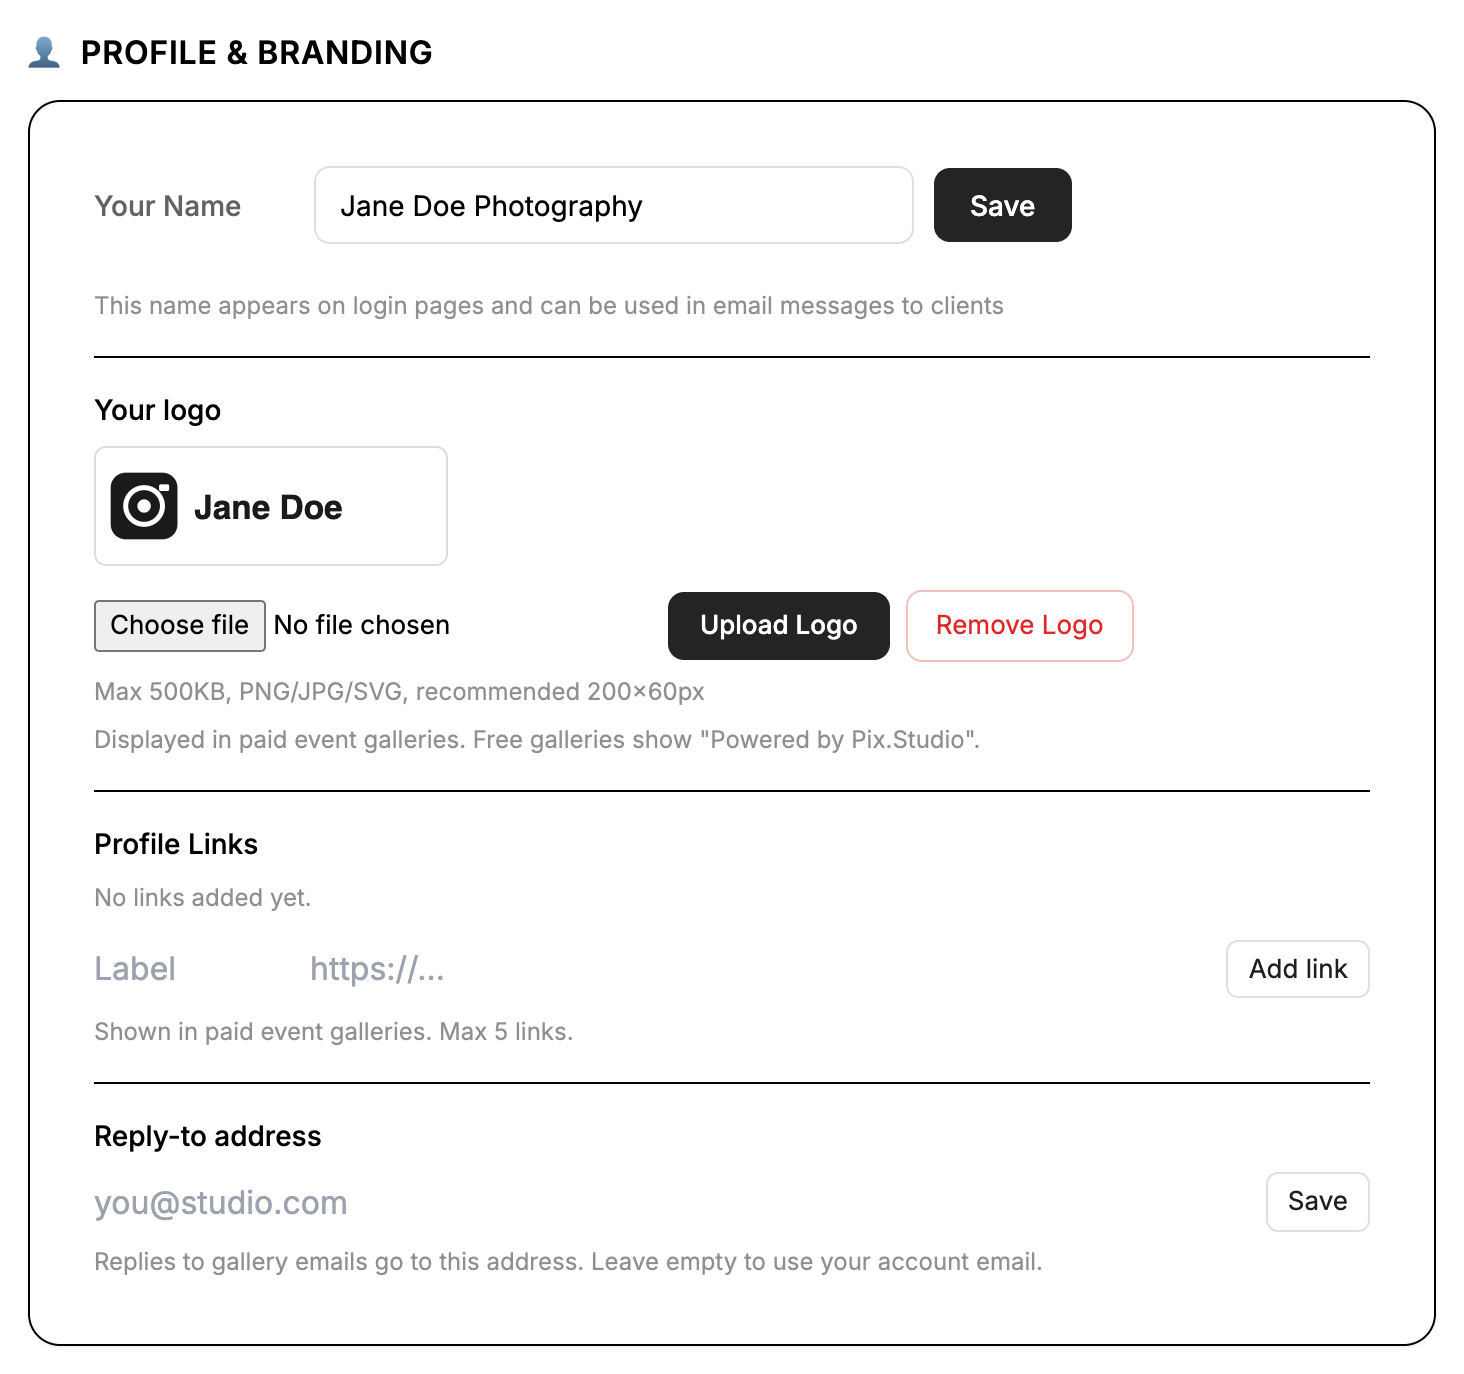
Your profile settings control how you appear to guests. Add your name and logo to make a professional impression.
Open profile settings
Open the 'Settings' tab in the navigation. The 'Profile & Branding' section is at the top.
Add your photographer name
Enter your name or studio name. This appears on guest registration forms and delivery emails.
Upload your logo
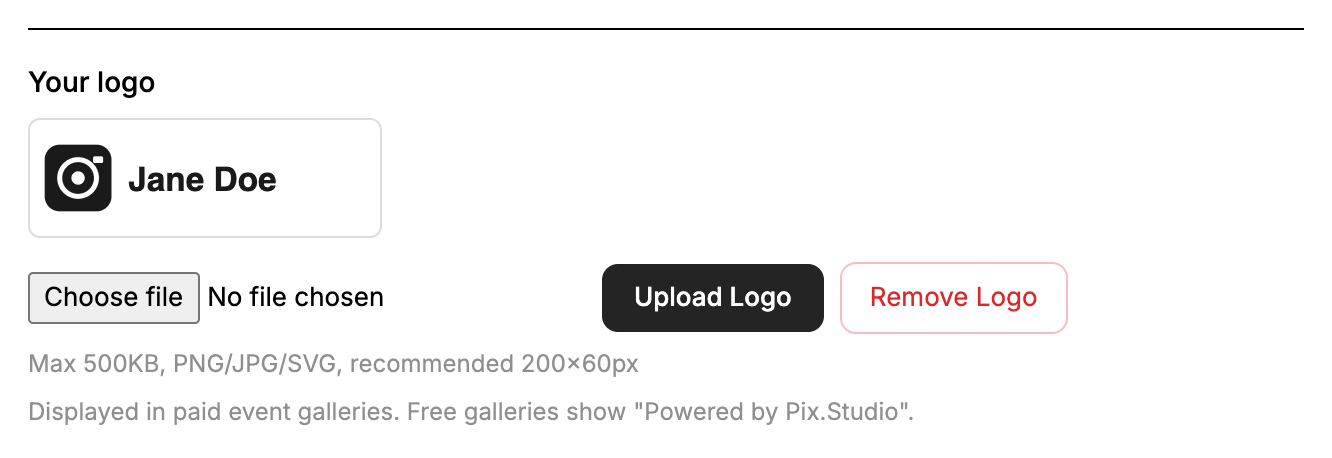
Upload a PNG, JPG or SVG logo (max 500 KB, recommended 200×60 px). Your logo is shown in your event galleries on paid plans — free galleries show 'Powered by Pix.Studio' instead. Logo upload is available on Pro, Business, or with a pay-per-event credit.
Use a transparent PNG or SVG for best results. Avoid logos with white backgrounds.
Set your public URL
Your public URL is used in all registration links. You'll find it on the Home tab under 'Client Registration'. Changing it to a custom name is available on Pro and Business plans.
Changing your URL later will break existing links and QR codes — choose carefully.