Photos & Delivery
Once you upload your photos, Pix.Studio automatically sorts and delivers them to the right guest.

Open your event
Go to the 'All photo shoots' tab and open the event you photographed.
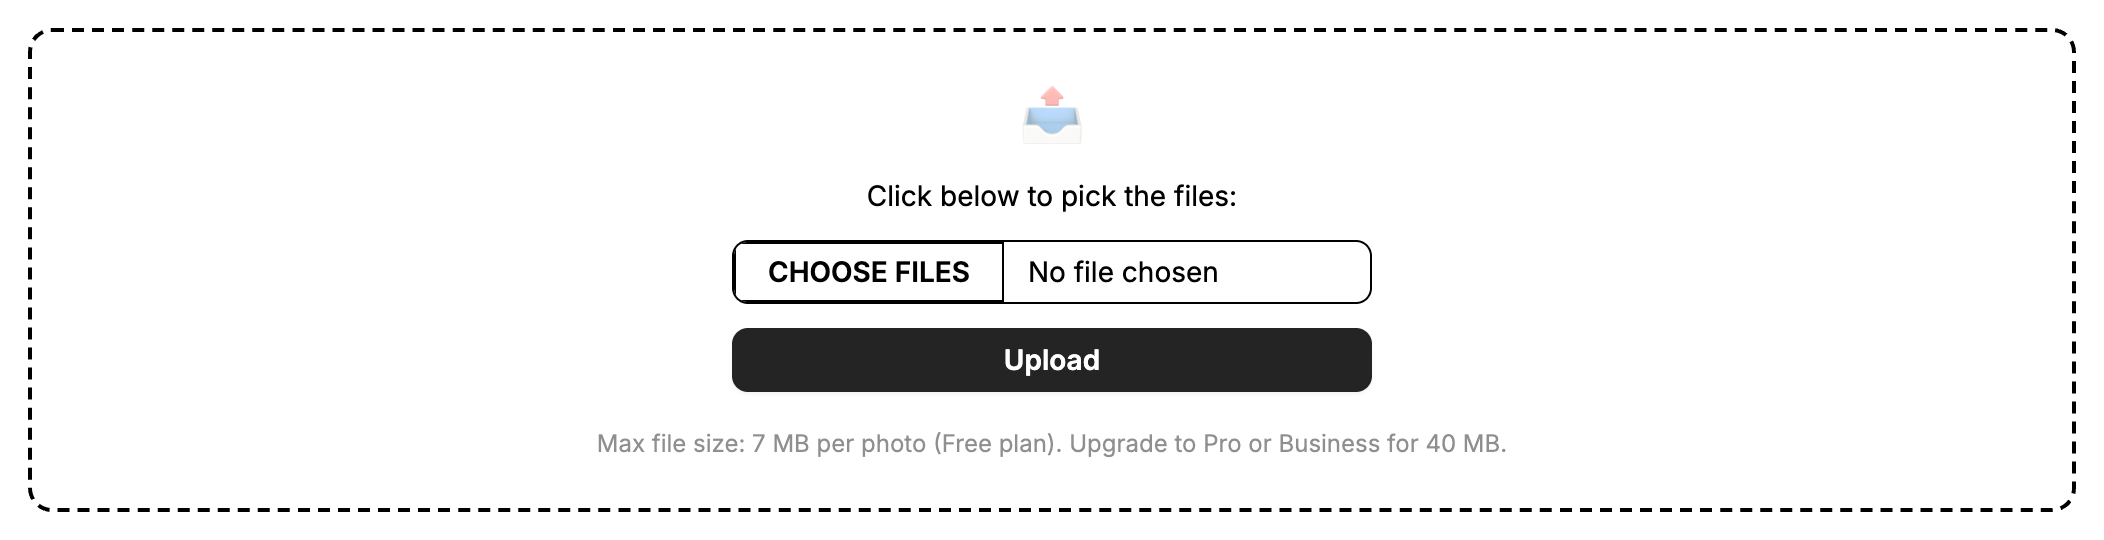
Upload photos
Click 'Choose files', select your photos, and click Upload. You can upload JPEG or PNG files — up to 7 MB per photo on Free, 40 MB on Pro and Business. The system processes them in order.
Photos are processed in file order. Make sure your camera exports files in shooting order — most cameras do this by default.
Supported formats: JPEG and PNG.
Confirm and send
Review the matched photos per guest. When satisfied, click 'Send to all unsent recipients' — or send each gallery individually. Each guest receives an email with a link to their private gallery.
Download all photos
You can download all photos from an event as a ZIP archive. Open the event, select the photos or guests you want, and click 'Download ZIP'. Large archives are prepared in the background — you will be notified when the download is ready.
Favorites
Guests can mark their favorite photos directly from their gallery. Favorites are shown highlighted so you can quickly see which shots they preferred. Available on Pro and Business plans.
Custom photo naming
Pro and Business users can define a naming template that is applied when photos are downloaded. For example, the template {name}_{seq:3} produces filenames like JohnDoe_001.jpg. Configure the template in event settings.
Group photos
Pix.Studio supports two workflows for delivering the same photo to multiple guests — ideal for group shots at headshot events or conferences.
Place the QR cards of all subjects side by side and photograph them together in a single shot. The system detects all QR codes in the image and assigns the photos that follow to every person in the frame.
Photograph each person's QR card individually in succession — without taking any regular photo in between. The system groups all consecutively photographed subjects together, and every photo taken after the last QR photo is delivered to the whole group.
Example: photograph QR-A, photograph QR-B, photograph QR-C, then take the group photo. All three guests receive that photo in their gallery.
Either method works, and they can be combined freely. As soon as a regular photo is taken, the group resets — the next QR photo starts a new individual or group assignment.